My better half and I have been looking for a nice table as surface in our large kitchen but we couldn’t find any nice ones. Even IKEA products are too simple or too expensive. She found a website that she likes very much, IKEA Hackers and has been showing me many designs since.
For her birthday we decided to do some IKEA hacking project. She will design and I will make it. As an artsy crafty person she designed things very easily but as someone who has only done woodwork in high school, it’s a proven challenge for me.
We decided to use 4 LACK side tables code 901.616.73 measuring 56x56cm and 1 VIKA AMON table top code 501.622.26 measuring 150x75cm. Total cost for this project including screws and brackets was RM240 (around US$80 at that time).
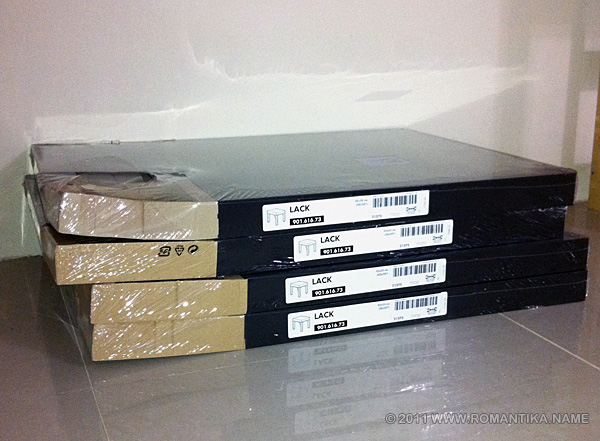
First, the LACK tables were assembled normally by screwing the 4 legs onto the top according to IKEA’s manual. They are arranged by the wall to see how they look:
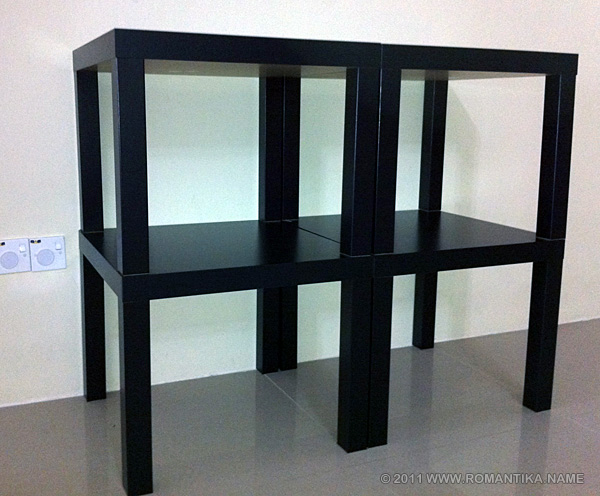
As I have never worked on wood before, it proved difficult for me to find supplies of brackets and suitable screws to put the project together. I finally found some usable parts at a local DIY store. To attach 2 LACK on the same row together, I used 2 L shaped flat metal piece. I didn’t manage to take a picture after attaching them but you’ll be able to see it in the following picture.
Here’s a picture after they have been attached. Note that at this moment the top row and the bottom row aren’t connected yet as I wanted to be able to easily attach the huge VIKA AMON top first.
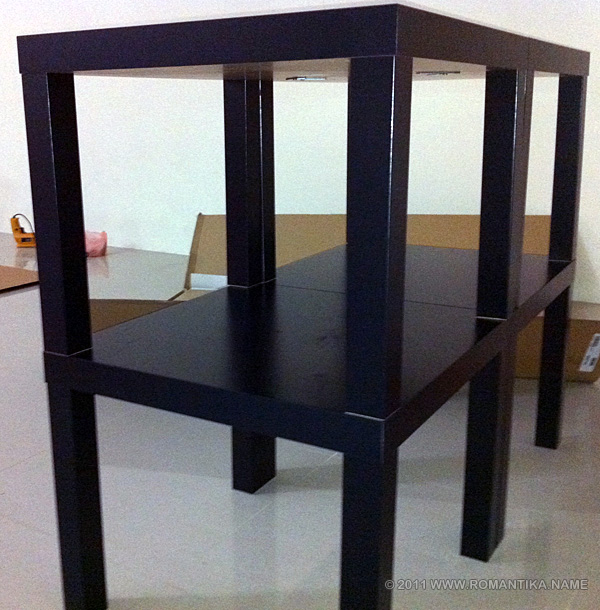
Here’s a view on how 2 LACK on the same row are attached using the L flat bracket. The red 3M tapes you see are just used to make sure the LACK tables stay put on the VIKA AMON table after I made the measurements.
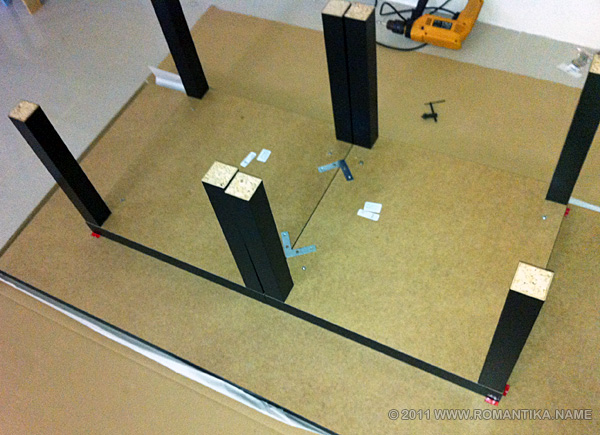
The top is attached by screwing the tables from below, using 2.5″ wood screws with washers. It wasn’t an easy job because LACK tables have paper support inside and are hollow. I used 8 screws to fix the top.
After I was satisfied with the attachment strength it was time to attach the bottom row of the LACK tables. Ransacking through my IKEA box I found flat brackets from GORM so I used them at what supposedly to be the behind of the table (facing the wall).
A useful tip here is to offset a little from center when driving the screw near the LACK table top as you might hit the original screw that holds the feet together. You don’t want that, those screws are heavy duty. I broke a bit on my power drill.
At the legs of the inner side, I used L metal brackets to attach the top and bottom row together.
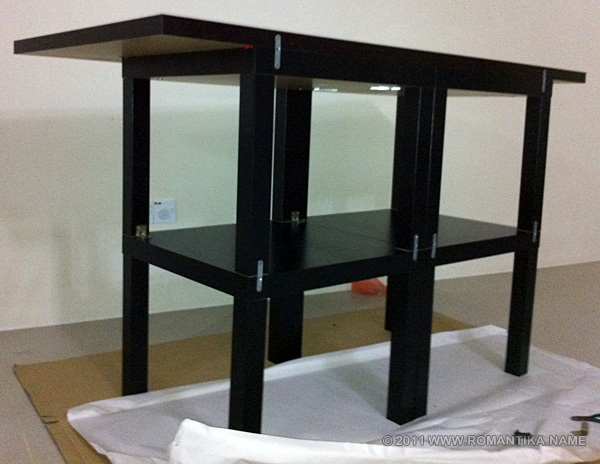
Here’s the (almost) final product. We plan to have some gypsum board covering for the sides and back but we are yet to find (and decide) on where we should get the supplies.
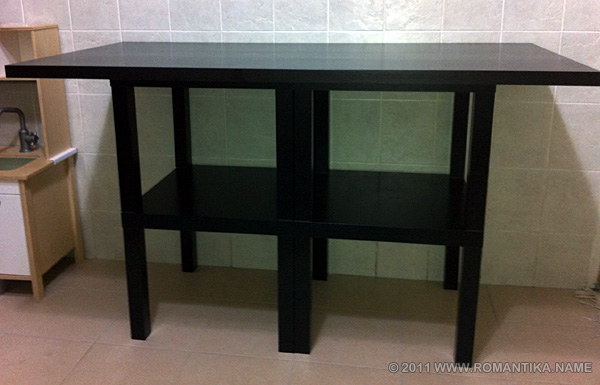
While we’re at that maybe we’ll look for nice wallpapers to cover the side and back boards.
Well that’s it. I hope you enjoyed reading.


